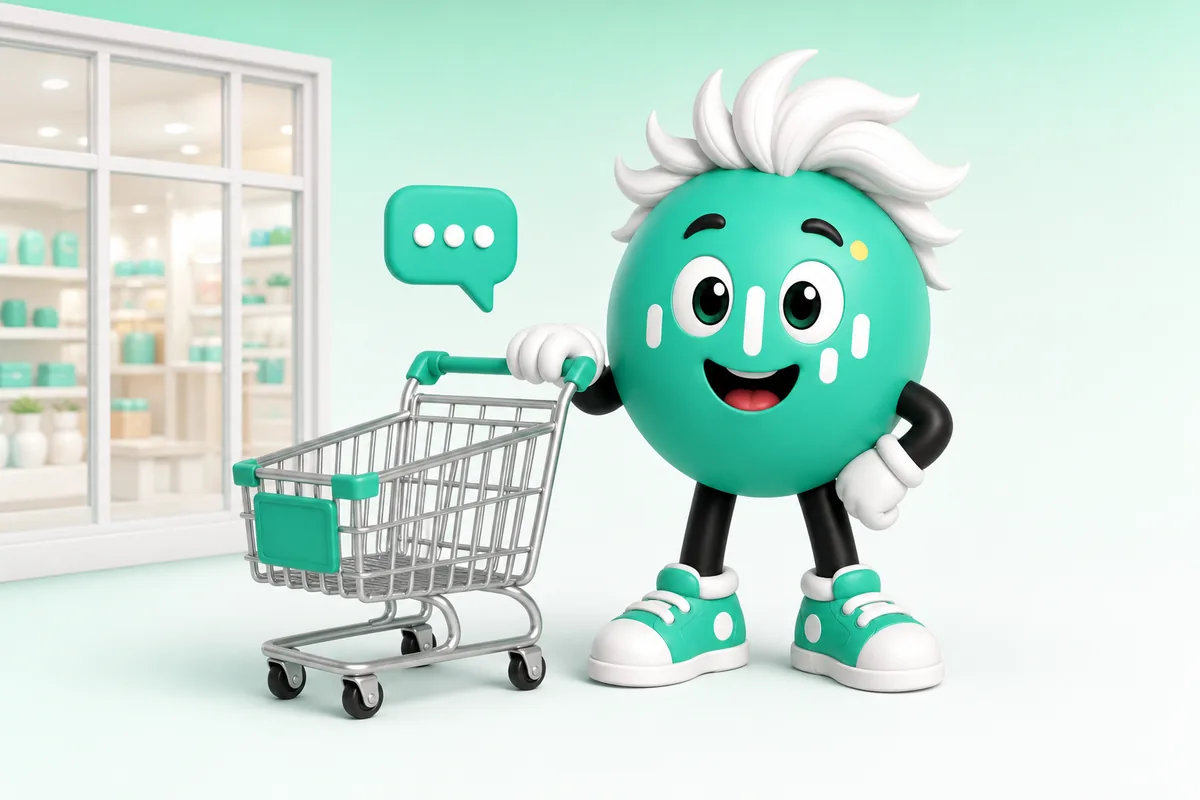
In an online shop, the purchase often hinges on a single open question: "Does this fit my model?", "How long is shipping?", "Can I return this?". Leave it unanswered and the cart is abandoned faster than support can reply. An AI chatbot that answers from your catalog and shop rules catches exactly these moments.
This post shows how to embed such a bot in Shopify or WooCommerce — without getting lost in plugins.
In short: The sale often hinges on one open question about a product, shipping or returns. A bot that answers from your catalog and shop rules catches those moments — and embedding it takes only a few minutes.
What a shop chatbot should answer
Before embedding, clarify the purpose. In e-commerce these are the most valuable questions:
- Product advice: Which product fits which need?
- Shipping & delivery time: Where, how long, how much?
- Returns & exchanges: Deadlines, conditions, process
- Availability & sizes: as far as stored in your knowledge base
- Payment methods and invoicing
These answers already live somewhere on your site — in product descriptions, shipping pages and terms. That's exactly what becomes the bot's knowledge base.
Step 1: Build the knowledge base from your shop
Gather the content the bot should answer from: shipping terms, return policy, size charts, care and product notes, FAQ. The rule of thumb applies here too: one topic per file. "Shipping" separate from "Returns" separate from "Sizing" — that way retrieval is more reliable.
With a frequently changing catalog, keep the cross-product info (shipping, returns, payment) stable and update the product content regularly.
Step 2: Build the bot and set the persona
Create the bot, upload the files and give it the persona of a friendly shop advisor. Clear boundaries matter: no promising discounts, no inventing availability, hand off complaints to a human. That keeps the bot helpful without pushing you into commitments you can't keep. The basic setup of a bot is explained in the guide How to build an AI chatbot for your own website.
Step 3: Embed it in Shopify
First generate the embed code in the Zeptix dashboard and pick a layout — for a shop, the pop-up bubble (a chat icon in the corner) or the lean inline variant work well. Then add that code to your theme:
- In the admin, go to Online Store → Themes → Edit code.
- Open
theme.liquid. - Paste the embed code right before the closing
</body>tag. - Save — the bot appears on all shop pages.
Sitting before </body>, the bot is available on product, category and checkout-adjacent pages alike. Alternatively, just link the bot at its own address (your-shop.zeptix.io), for example in the shop menu.
Step 4: Embed it in WooCommerce
WooCommerce runs on WordPress, so you add the same embed code from the dashboard via one of two routes:
- Via theme: add the code to your (child) theme's
footer.phpbefore</body>. - Via a code-snippet plugin: If you'd rather not touch theme code, a snippet plugin inserts the same code in the footer hook.
Both routes reach the same result: the bot is available across the whole shop. Use a child theme so your edit survives a theme update.
Step 5: Test with real buying questions
Before the bot goes live, test it with the questions your customers actually ask — including the tricky ones: "Do you deliver to a pickup point?", "What if the parcel arrives damaged?". Check that it finds the right source and hands off honestly where your knowledge base ends.
Common mistakes in shop use
| Mistake | Consequence |
|---|---|
| Embed code in the main theme, not a child theme | Overwritten on theme update |
| Outdated shipping/return info | Bot states wrong deadlines |
| No handoff for complaints | Frustration on exactly the sensitive cases |
| Availability "from the gut" | Invented stock levels |
Conclusion
A shop chatbot isn't a toy widget — it's a quiet salesperson that clears open questions at the decisive moment. Embedding it in Shopify or WooCommerce takes a few minutes; the real work is a clean knowledge base from your shipping, return and product info. That's where the difference between an abandoned and a completed purchase is made.
More on retail use is on the chatbot for online shops page. Or get started right away: build a shop bot for free.
Build your own chatbot
Upload your knowledge, pick your model and go live in minutes — no code.