Most website chatbots fail at the same thing: they don't know the business they represent. A generic model that answers every question with "I'm afraid I can't help with that" — or worse, with invented details — costs trust instead of building it.
A good website chatbot works differently. It answers from your content: your product pages, your FAQ, your PDFs, your prices. And today you can build exactly that without programming. This guide walks the full path — from the first file to the fully published bot.
In short: A good website chatbot answers from your own content — not from a model's general knowledge. In five steps (knowledge base, model, persona, test, embed) it's live in an afternoon, with no code at all.
What a website chatbot really needs to do
Before you start, it helps to set a clear bar. A usable bot meets three conditions:
- It answers from your knowledge, not from a model's general knowledge. Ask "Do you offer a money-back guarantee?" → the answer comes from your terms, not a guess. (Why that beats a generic ChatGPT is compared in Your own chatbot vs. ChatGPT.)
- It admits when it doesn't know. A bot that stays quiet or hands off when unsure is worth more than one that hallucinates.
- It's GDPR-compliant if your visitors are in the EU. Data location and processing agreements aren't a detail — they're a requirement.
Keep these three in mind; they drive every configuration choice later.
Step 1: Assemble your knowledge base
The bot is only as good as what it's allowed to read. First gather the content it should answer from:
- Product and service descriptions
- FAQ and support articles
- Price lists and contract terms
- Manuals, spec sheets, handbooks (PDF is fine)
A practical trick: one topic per file. A PDF for "Shipping," one for "Returns," one for "Warranty" gets retrieved more reliably than an 80-page catch-all. Clear headings and repeated key terms raise the hit rate further.
This prep is the lever with the biggest payoff. How to structure it cleanly is laid out on the knowledge base page.
Step 2: Create the bot and choose a model
Now into the builder. You create a new bot, upload your files and pick the language model. Here's an underrated advantage: you're not locked into a single model. A lean FAQ runs fine on a fast, cheap model; nuanced advice calls for a stronger one. You can switch this per bot at any time.
You write no code for this. The whole flow runs through the interface — see the no-code builder for details.
Step 3: Define persona and tone
A model without instruction sounds like a model. With a clear system prompt it sounds like your brand. Define:
- Identity: Who is the bot, who does it work for?
- Tone: casual and friendly, or formal and precise?
- Boundaries: What won't it discuss? (No legal advice, no promising discounts, no recommending competitors.)
The boundaries especially get forgotten — yet they prevent the most embarrassing missteps. How to write a sharp persona is covered on the training page.
Step 4: Test before you go live
A bot that only works "in the demo" isn't a bot. Test with real questions — including the awkward ones: typos, multi-part questions, topics at the edge of your knowledge base.
Watch two dials:
- Does it find the right source? If not, a document is usually missing or the headings are too vague.
- Does it answer too much or too little? The hit count controls how broadly it draws from the knowledge base.
The analysis view shows which sources the bot used for an answer — so you find gaps in minutes instead of guessing.
Step 5: Publish — hosted or embedded
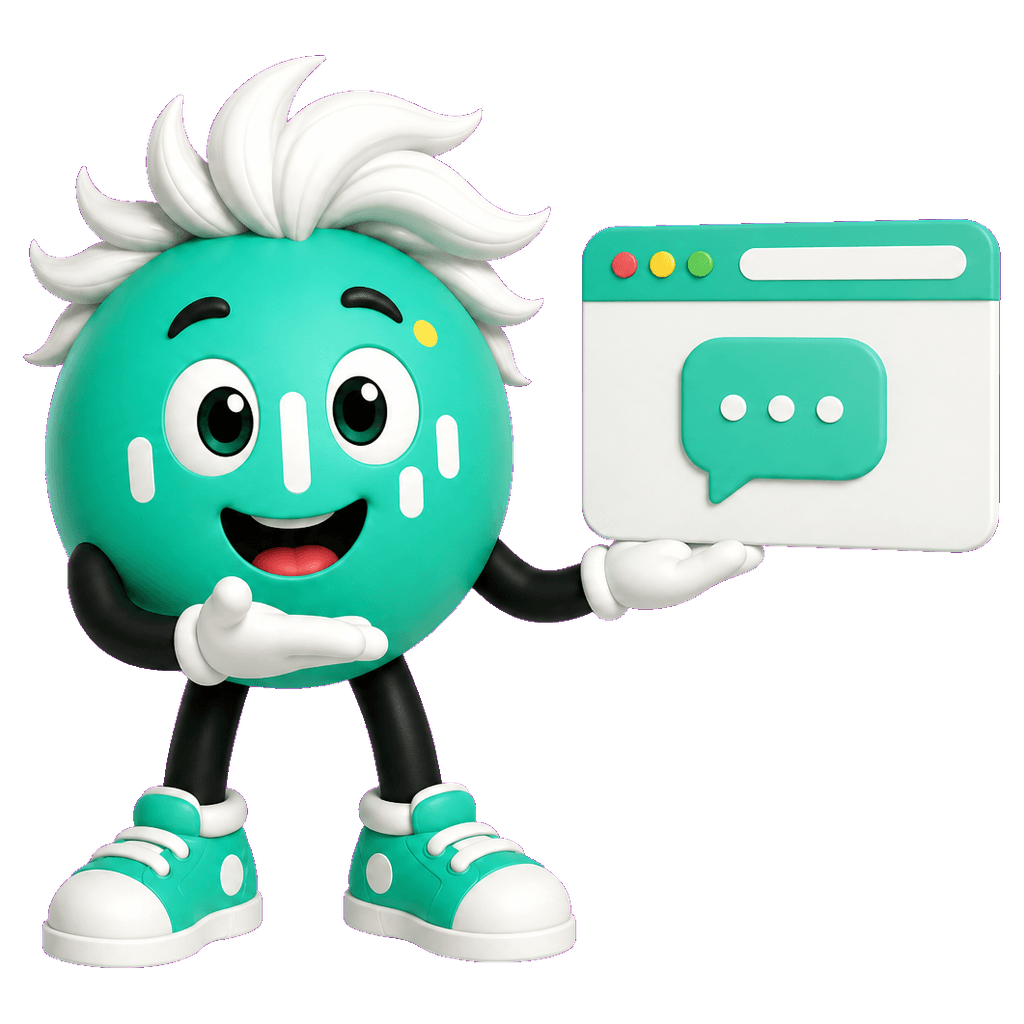
Unlike a classic chat widget, your Zeptix bot is a standalone, hosted chatbot by default: it gets its own address right away, like your-name.zeptix.io (and from the Pro plan, optionally on your own domain via CNAME). You can share that link directly — in your signature, your support menu, your social profiles.
If you want to show the bot directly on your website, you generate the embed code in the dashboard and pick a layout: the full experience, a lean inline variant (just the chat window) or a pop-up bubble in the corner — like a modern support tool. You paste the code into your page once, and you're done. From then on the bot answers questions around the clock, with no one needing to watch.

Depending on your goal, specialized setups pay off: for customer service, Cut support tickets with AI shows the approach; for retail, Add a chatbot to Shopify & WooCommerce.
The most common mistakes — and how to avoid them
| Mistake | Consequence | Fix |
|---|---|---|
| Everything in one huge file | Bot can't find the answer | One topic per file |
| No system prompt | Generic, brand-less tone | Define persona + boundaries |
| Never tested with edge cases | Hallucinations in production | Test edge cases before launch |
| Model "just the most expensive" | Unnecessary cost | Match the model to the task |
What does a chatbot like this cost?
The honest answer: it depends on how much it answers — not on how many employees you have. We broke down the cost factors in a dedicated post: What does an AI chatbot cost in 2026?. For an overview of the plans, see the pricing page.
Conclusion
A website chatbot that genuinely helps isn't born from a magic model, but from a clean knowledge base, a clear persona and honest testing. The good news: none of these steps needs programming. Follow the order — content, model, persona, test, embed — and your bot is live in an afternoon.
Curious? Build a chatbot for free and try it with your own content.
Build your own chatbot
Upload your knowledge, pick your model and go live in minutes — no code.